
Note: The home use license key is valid for Solidworks 2026, as well as some older versions. We recommend you install Solidworks 2026 to match what is being used in labs. Please speak with your instructor if you are unsure.
Overview
SolidWorks is a computer-aided design software used by engineers to create 3D digital models of mechanical parts and virtual assemblies before manufacturing them.
|
|

|
Step 1:
Request a download from www.solidworks.com/SEK
- Ensure you have a good network connection and sufficient space
- The final installer file may be as large as 9 GB.
- Choose 2025 to ensure compatibility with our labs
|
|
|
Step 2:
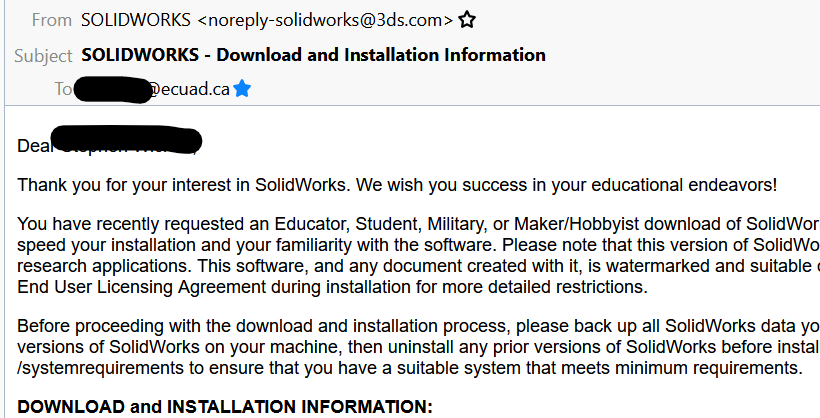
Check your ECU inbox for full installation instructions.
|
Back to top
Step 2: Read & Accept Solidworks Community Access Initiative
Read & accept the terms of Solidworks Community Access Initiative.
Step 4: Download & Run the Setup File
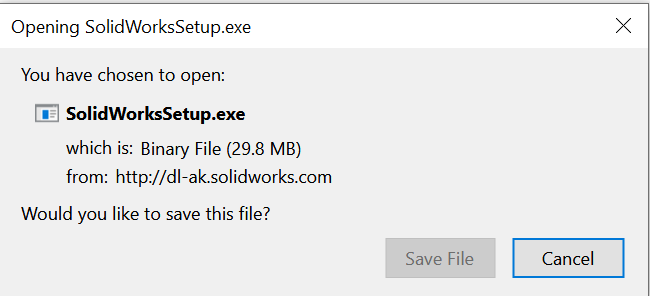
1) Download the initial setup file (note this will be a small file):
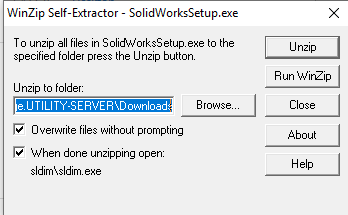
2) Run the setup file with elevated admin credentials:
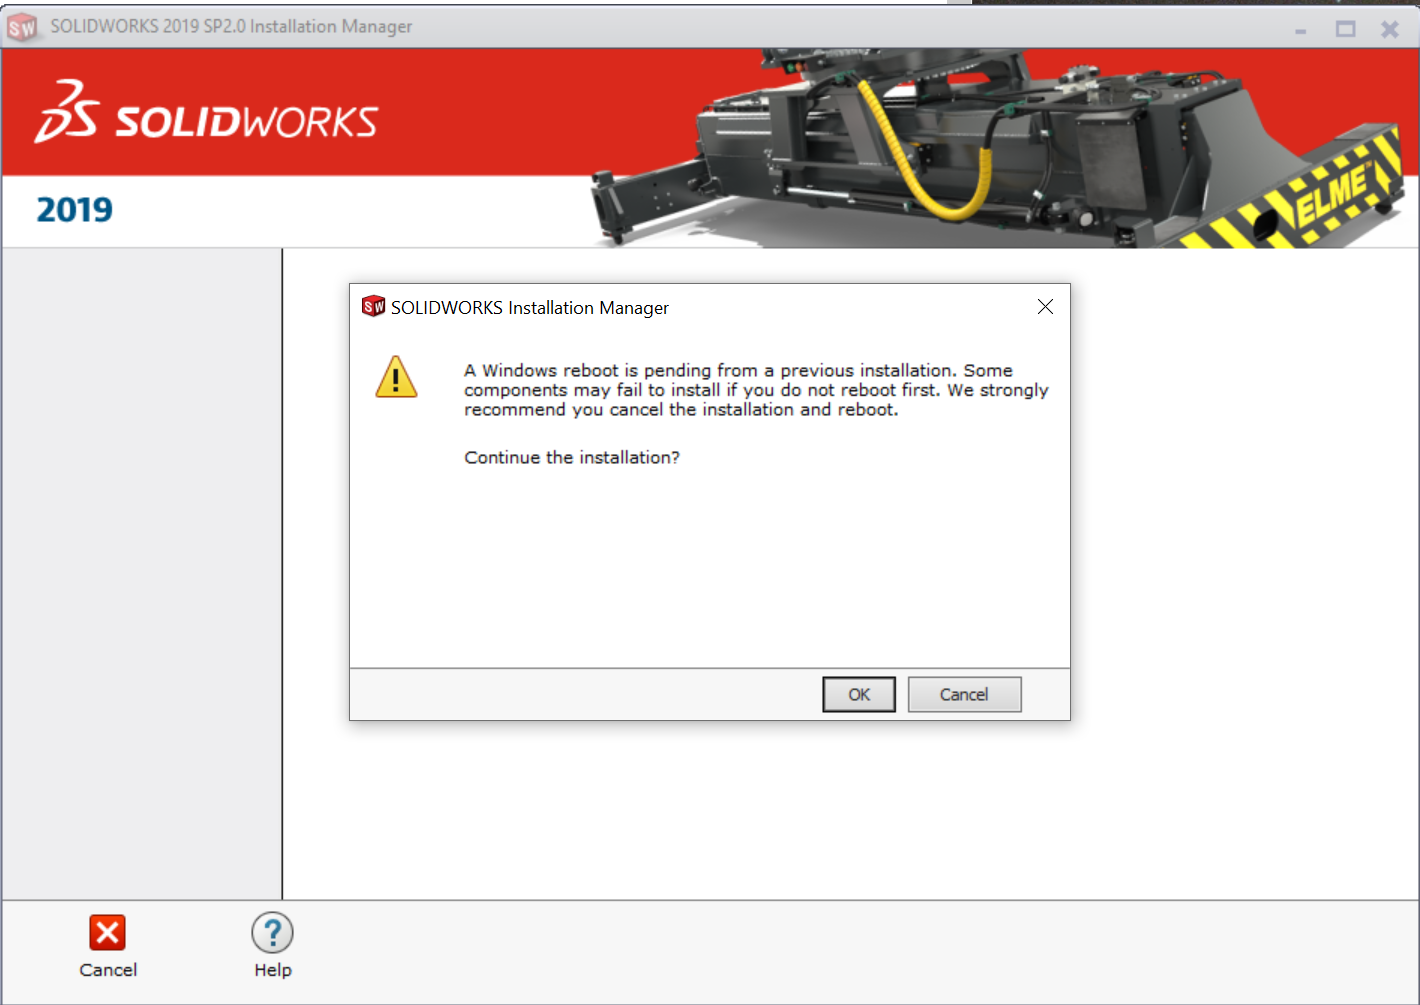
3) Reboot your PC if recommended. After restart, run the setup once more.
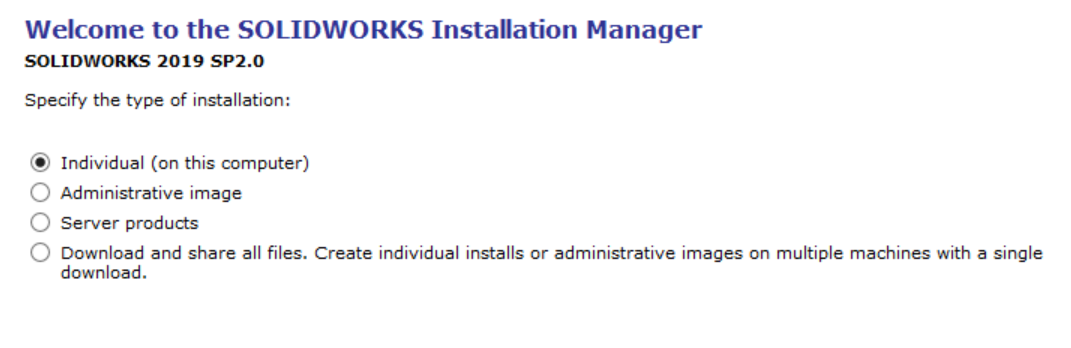
Step 5: Choose "Individual" Install
Choose 'Individual' install option.
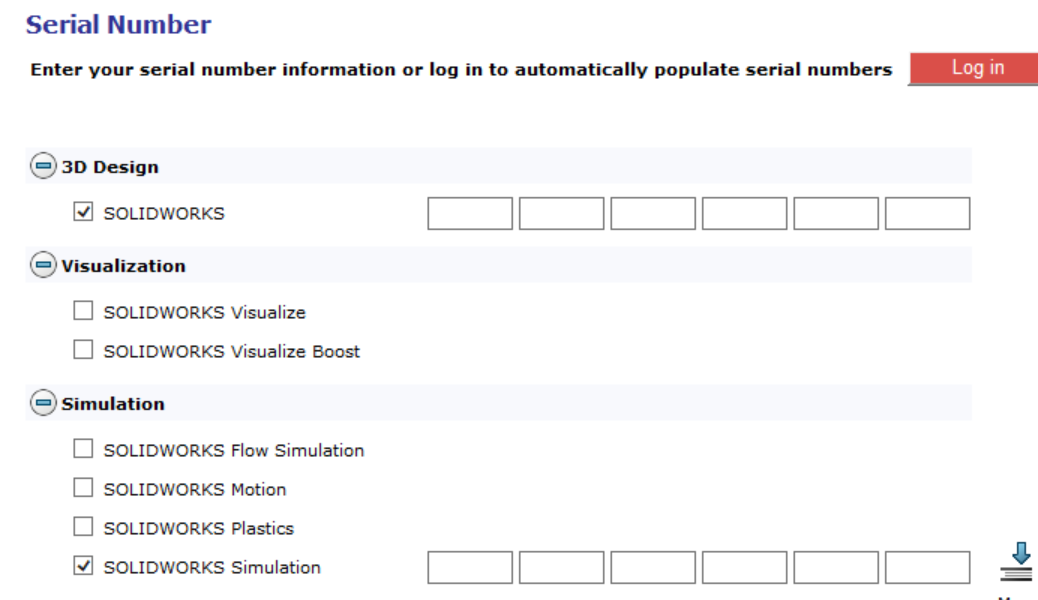
Step 6: Enter the Serial Number Provided
Enter the serial provided into the 3D Design / Solidworks product area only (leave all other boxes empty).
Step 7: Change Configuration / Language if Required
Change configuration & language options or leave as default .
*Removing unnecessary product options will save you up to 12 GB of downloaded media. Emily Carr installs only the following on campus:
- SOLIDWORKS
- PhotoView 360
- Example Files
- Manuals
- Help Files
- SOLIDWORKS Languages(English)
- SOLIDWORKS Motion
- SOLIDWORKS Simulation
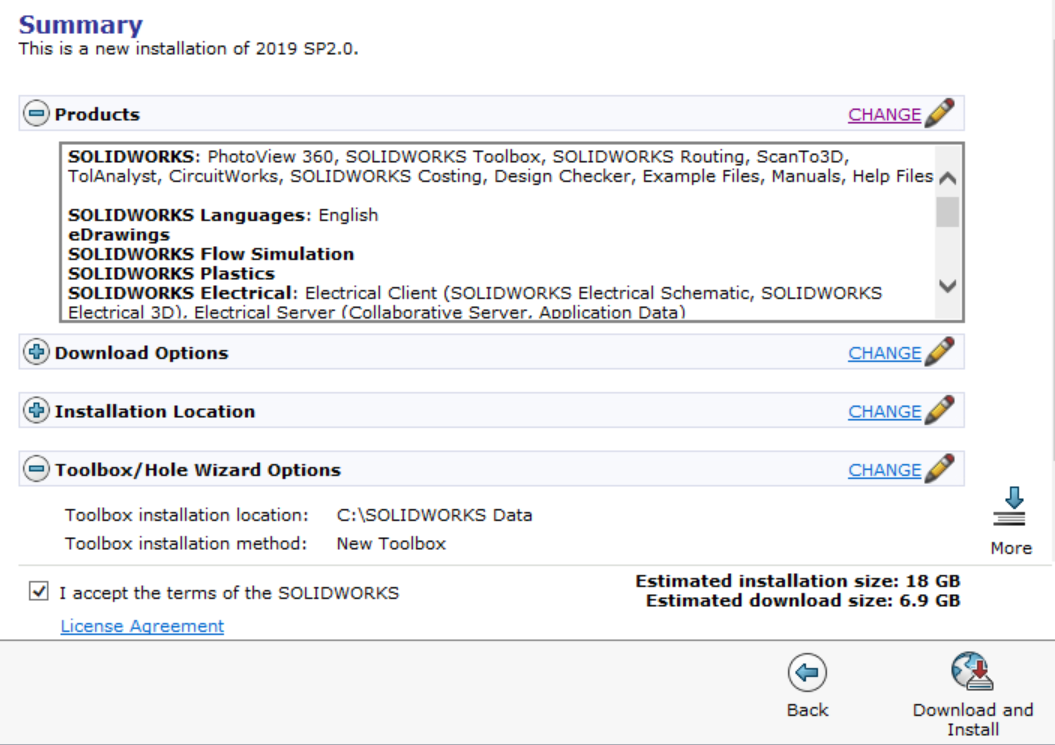
Step 8: Accept Terms and Begin Download & Installation
Accept terms & click 'Download & Install'
Depending on your connection, this may take over an hour. This download is for the larger, final installer.
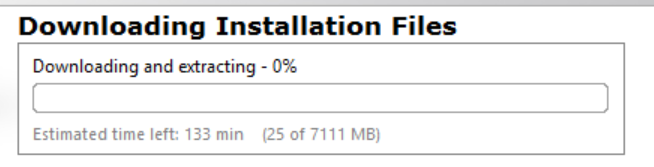
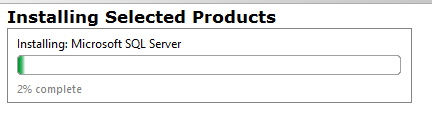
Installer will start automatically. Allow up to 30 minutes for it to complete all required components.
Step 9: Request to Download Solidworks
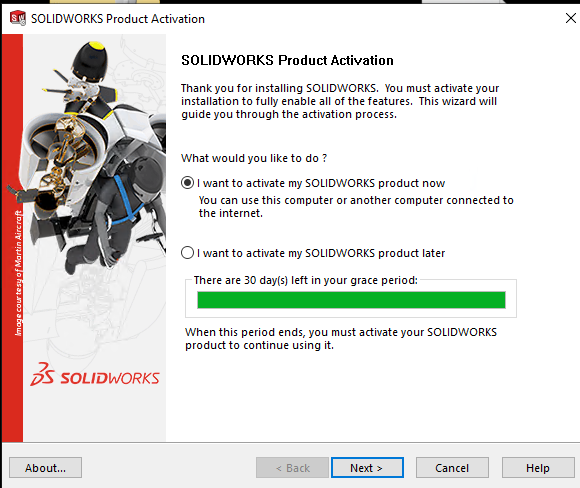
Launch Solidworks. Use the Product Activation window to 'activate now' using an Internet connection.
If activation reports failure:
-
Please check your internet connection and try again.
-
Reply to the ticket email thread for further assistance
Reactivating an Existing (Expired) Installation
If you already have Solidworks installed with an expired Student activation key, you can simply update the serial number without reinstalling the software.
Step #1: Under Control Panel\Programs and Features Select SolidWorks and click Change.
Step #2: Using the Solidworks GUI that appears, select Modify the individual installation and add in the new serial number.
Step #3: Click Next when prompted, and then Modify now.
Step #4: De-activate your old serial if prompted, and ignore any warnings that the old serial has expired. Continue to click Next whenever prompted.
Step #5: Launch SolidWorks and allow it to activate the new serial when prompted.
Installing SolidWorks (Student/Educational Version): Tips for Success
Installing SolidWorks on a personal Windows computer can be challenging, especially since performance and compatibility vary widely between devices. Our IT Services team provides your educational license code (starts with 9020) but cannot modify or troubleshoot your personal device due to liability and support limitations.
To help you complete the installation successfully, follow the guidance below.
1. Confirm Your Computer Meets SolidWorks System Requirements
SolidWorks requires specific hardware, including a compatible graphics card, and many consumer laptops fall short of these requirements. Always review the official system requirements before beginning. [teched.org]
The installer will also automatically check your hardware and notify you if something is missing. [files.solidworks.com]
2. Prepare Your Windows System Before Installing
A clean, updated system helps avoid installation failures.
- Install all pending Windows Updates
- Restart your computer
- Close all running applications before launching the installer
This reduces the chance of file‑locking and installation manager errors.
3. Fully Remove Previous SolidWorks Versions
Older, partial, or corrupt installations often conflict with new ones.
Uninstall previous versions completely, then restart your computer.
4. Download the Installer and Unzip It First
When downloading the SolidWorksSetup.exe file, make sure to unzip the package before running it. Attempting to run the executable within a compressed folder is a known cause of installation failures. [files.solidworks.com]
If you encounter errors (such as SolidWorks thinking you're on Windows XP), move the installer out of your Downloads folder—e.g., to your Desktop—and run it again. [tdx.maine.edu]
5. Use a Strong, Stable Internet Connection
The installation files exceed 6 GB, so a reliable connection is essential.
Use wired internet if possible to minimize interruptions.
6. Begin the Installation Using the Correct Mode
When the SolidWorks Installation Manager launches:
7. Enter Your Educational Serial Number Correctly
When prompted:
- Enter the 3D Design / CAD serial number, which begins with 9020
- Leave other serial number fields blank unless instructed otherwise [files.solidworks.com]
8. Choose Only the Components You Need
To reduce download time and storage usage, deselect optional components.
Important: Avoid installing SolidWorks Electrical unless required—
it uses Microsoft SQL and often causes installation or upgrade complications. [tdx.maine.edu]
9. Restart After Installation Completes
A post‑installation restart helps ensure that SolidWorks activates properly and that all add‑ins load correctly. [vdci.edu]
10. Be Aware of License Expiry Rules
Student Premium (SEK) licenses expire annually on August 31st. Please submit a new Software for Personal Computer ticket once your SOLIDWORKS app prompts you that your activation has expired.